Lets talk about a display and something to control audio. In the first part of this series, I discussed why I decided against using any form of touchscreen due to several drawbacks. This leaves us with limited options for displays.
A display serves as an interface between the arena marshal and the RFCB. It needs to be visually accessible so the marshal can easily gather information with a glance. The ideal display should be large enough to be read from a distance, bright enough to be seen in sunlight, and, crucially, affordable.
So, what information must this interface convey? Primarily, the arena marshal needs to track time, possibly along with some basic status updates. For those unfamiliar with robot combat, a standard match lasts three minutes. Hence, the display technology required is quite straightforward. Nowadays, every electronic supplier stocks 7-Segment LED displays, often featuring four units mounted on a PCB and connected to a TM1637 controller for easy operation.
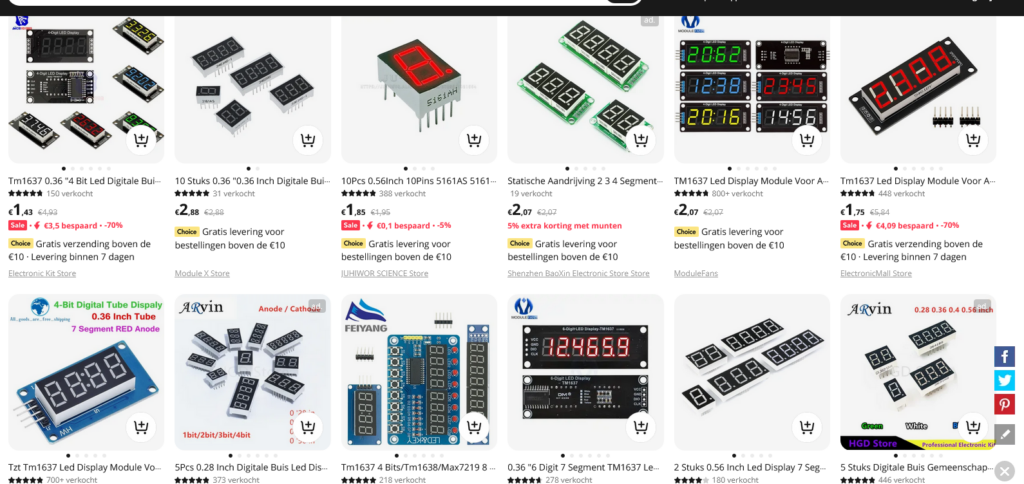
This setup checks most boxes: it’s cost-effective, simple, maintainable, appropriately sized, and robust. However, it lacks a cool factor—unfortunately, these displays aren’t available in RGB. This limitation likely stems from the TM1637 controller, but it’s a disappointment nonetheless. For the initial version of the RFCB, I’ll have to settle for choosing a single LED color.
Lets make some noise!
Next, let’s talk about sound, another crucial interface. Competitors need audible cues because they cannot be expected to watch a display while manoeuvring their robots. Typical cues include a countdown at the start and end of a match

Our events usually utilize a PA system linked to an audio soundboard with ten buttons and an analogue output for an amplifier. Although this system allows for remote control, I prefer a simpler solution—a compact sound player that I can operate by sending digital signals.This brings us to another essential component of our design: the Arduino
This part of the design was almost a given, the “brain” of the RFCB is a Arduino. For those who don’t know what that is the Arduino acts as the “brain” of the RFCB. For those unfamiliar, an Arduino is a microcontroller board that allows users to connect various electronic components using programmable I/O pins—think of it as electronic Lego
The display’s TM1637 IC, previously mentioned, connects to the Arduino using just two digital pins, allowing me to display all necessary information effortlessly.
I want a similar simplicity for the audio interface. Thankfully, Arduino-compatible components are plentiful and nearly plug-and-play. I’ve chosen a Mini MP3 Player Module for Arduino, model MP3-TF-16P. This module supports SD cards for MP3 files, includes a built-in amplifier for small speakers, and offers an audio output for connection to our larger amplifier system. Best of all, it’s affordable and incredibly compact!
Next part: first prototype.


1 Response
[…] Building a Robotics fight control box (RFCB) Part 2: Display , Audio and Arduino’s […]